Create a template with extended properties
SKUs require an Item template. Complete this guide first, then move on to Build your SKU catalogue.
This guide walks through creating the Power Tool template. You will first define two extended properties — Voltage (a number field) and Serial Required (a yes/no toggle) — then create the template and assign them.
Background: Templates & extended properties explains the model and the difference between extended properties and templates. Working with lists covers the table controls used on every list page.
Part 1 — Create the extended properties
Extended properties are defined once at the tenant level, then assigned to one or more templates. Create them before building the template.
Step 1 — Open the Extended Properties list
In the sidebar, expand Manage Templates and select Extended Properties. The Extended Properties list opens.
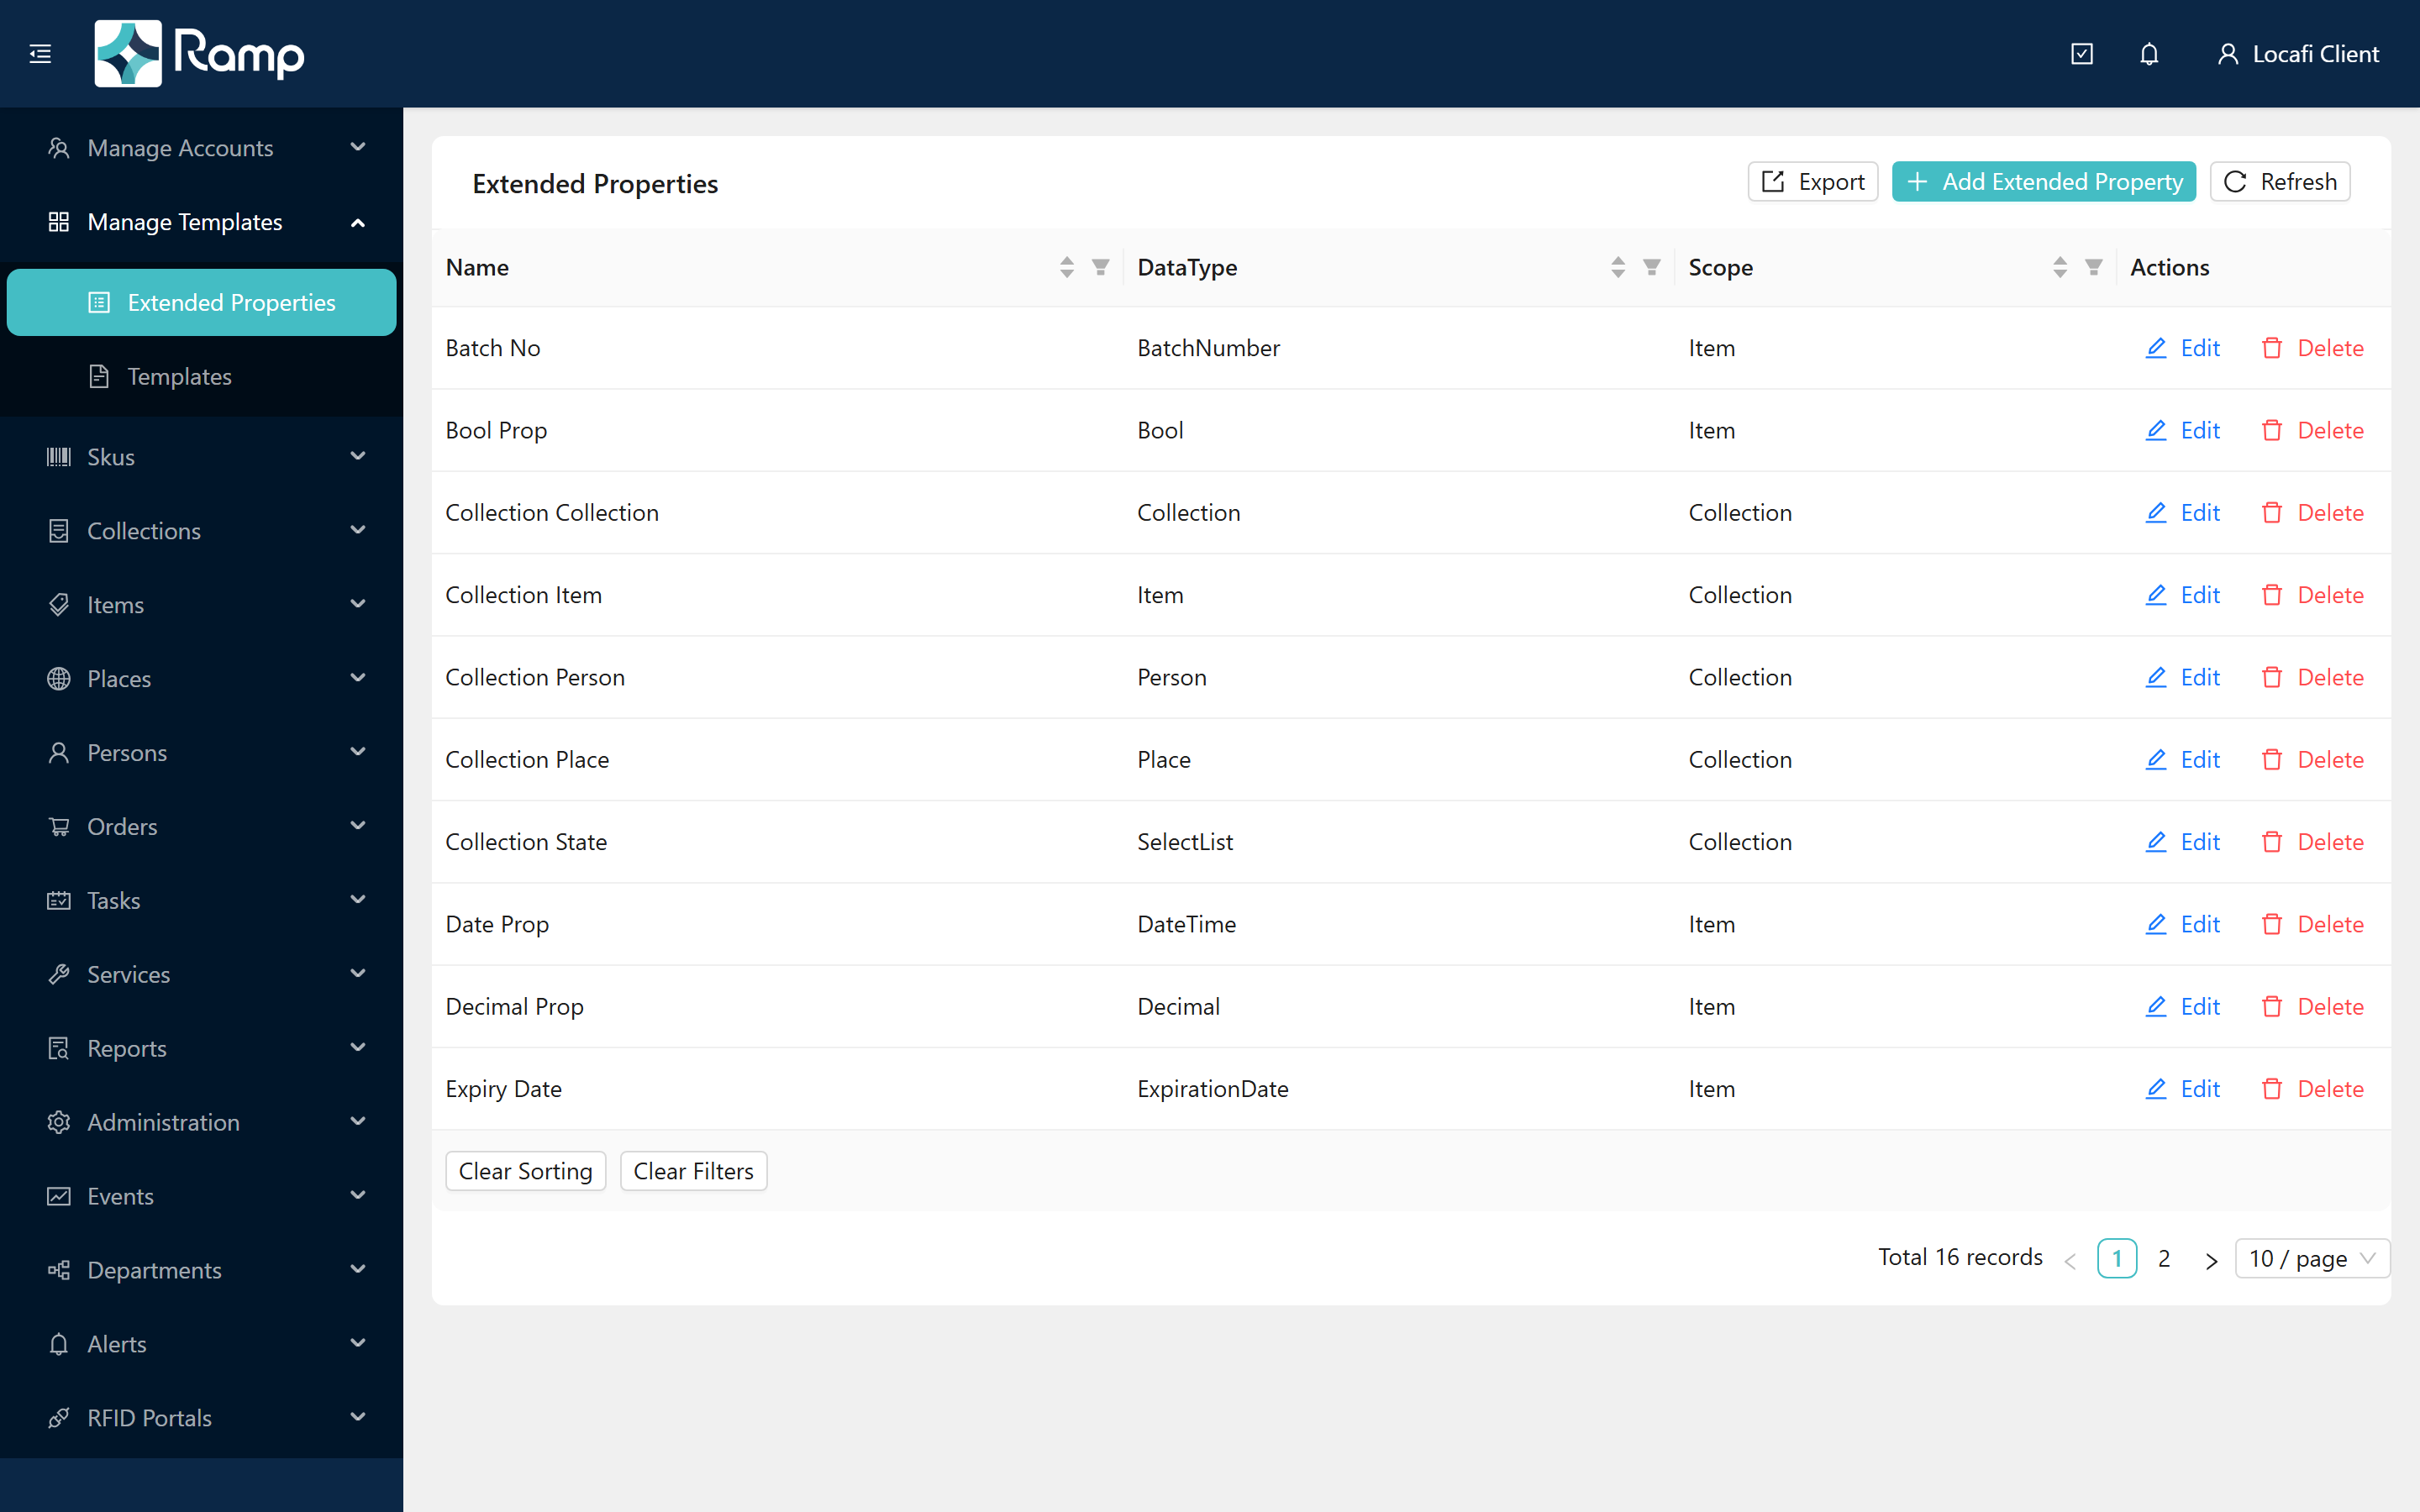
Click Add to open the New Extended Property form.
Step 2 — Create the Voltage property
Fill in these fields:
| Field | Value |
|---|---|
| Name | Voltage |
| Template Type | Item |
| Data Type | Number |
Note: Data Type stays disabled until you choose a Template Type. Once you select Item, the dropdown activates and shows the field types available for items. If you skip Template Type, the portal shows "Template Type is required!" when you click Create.
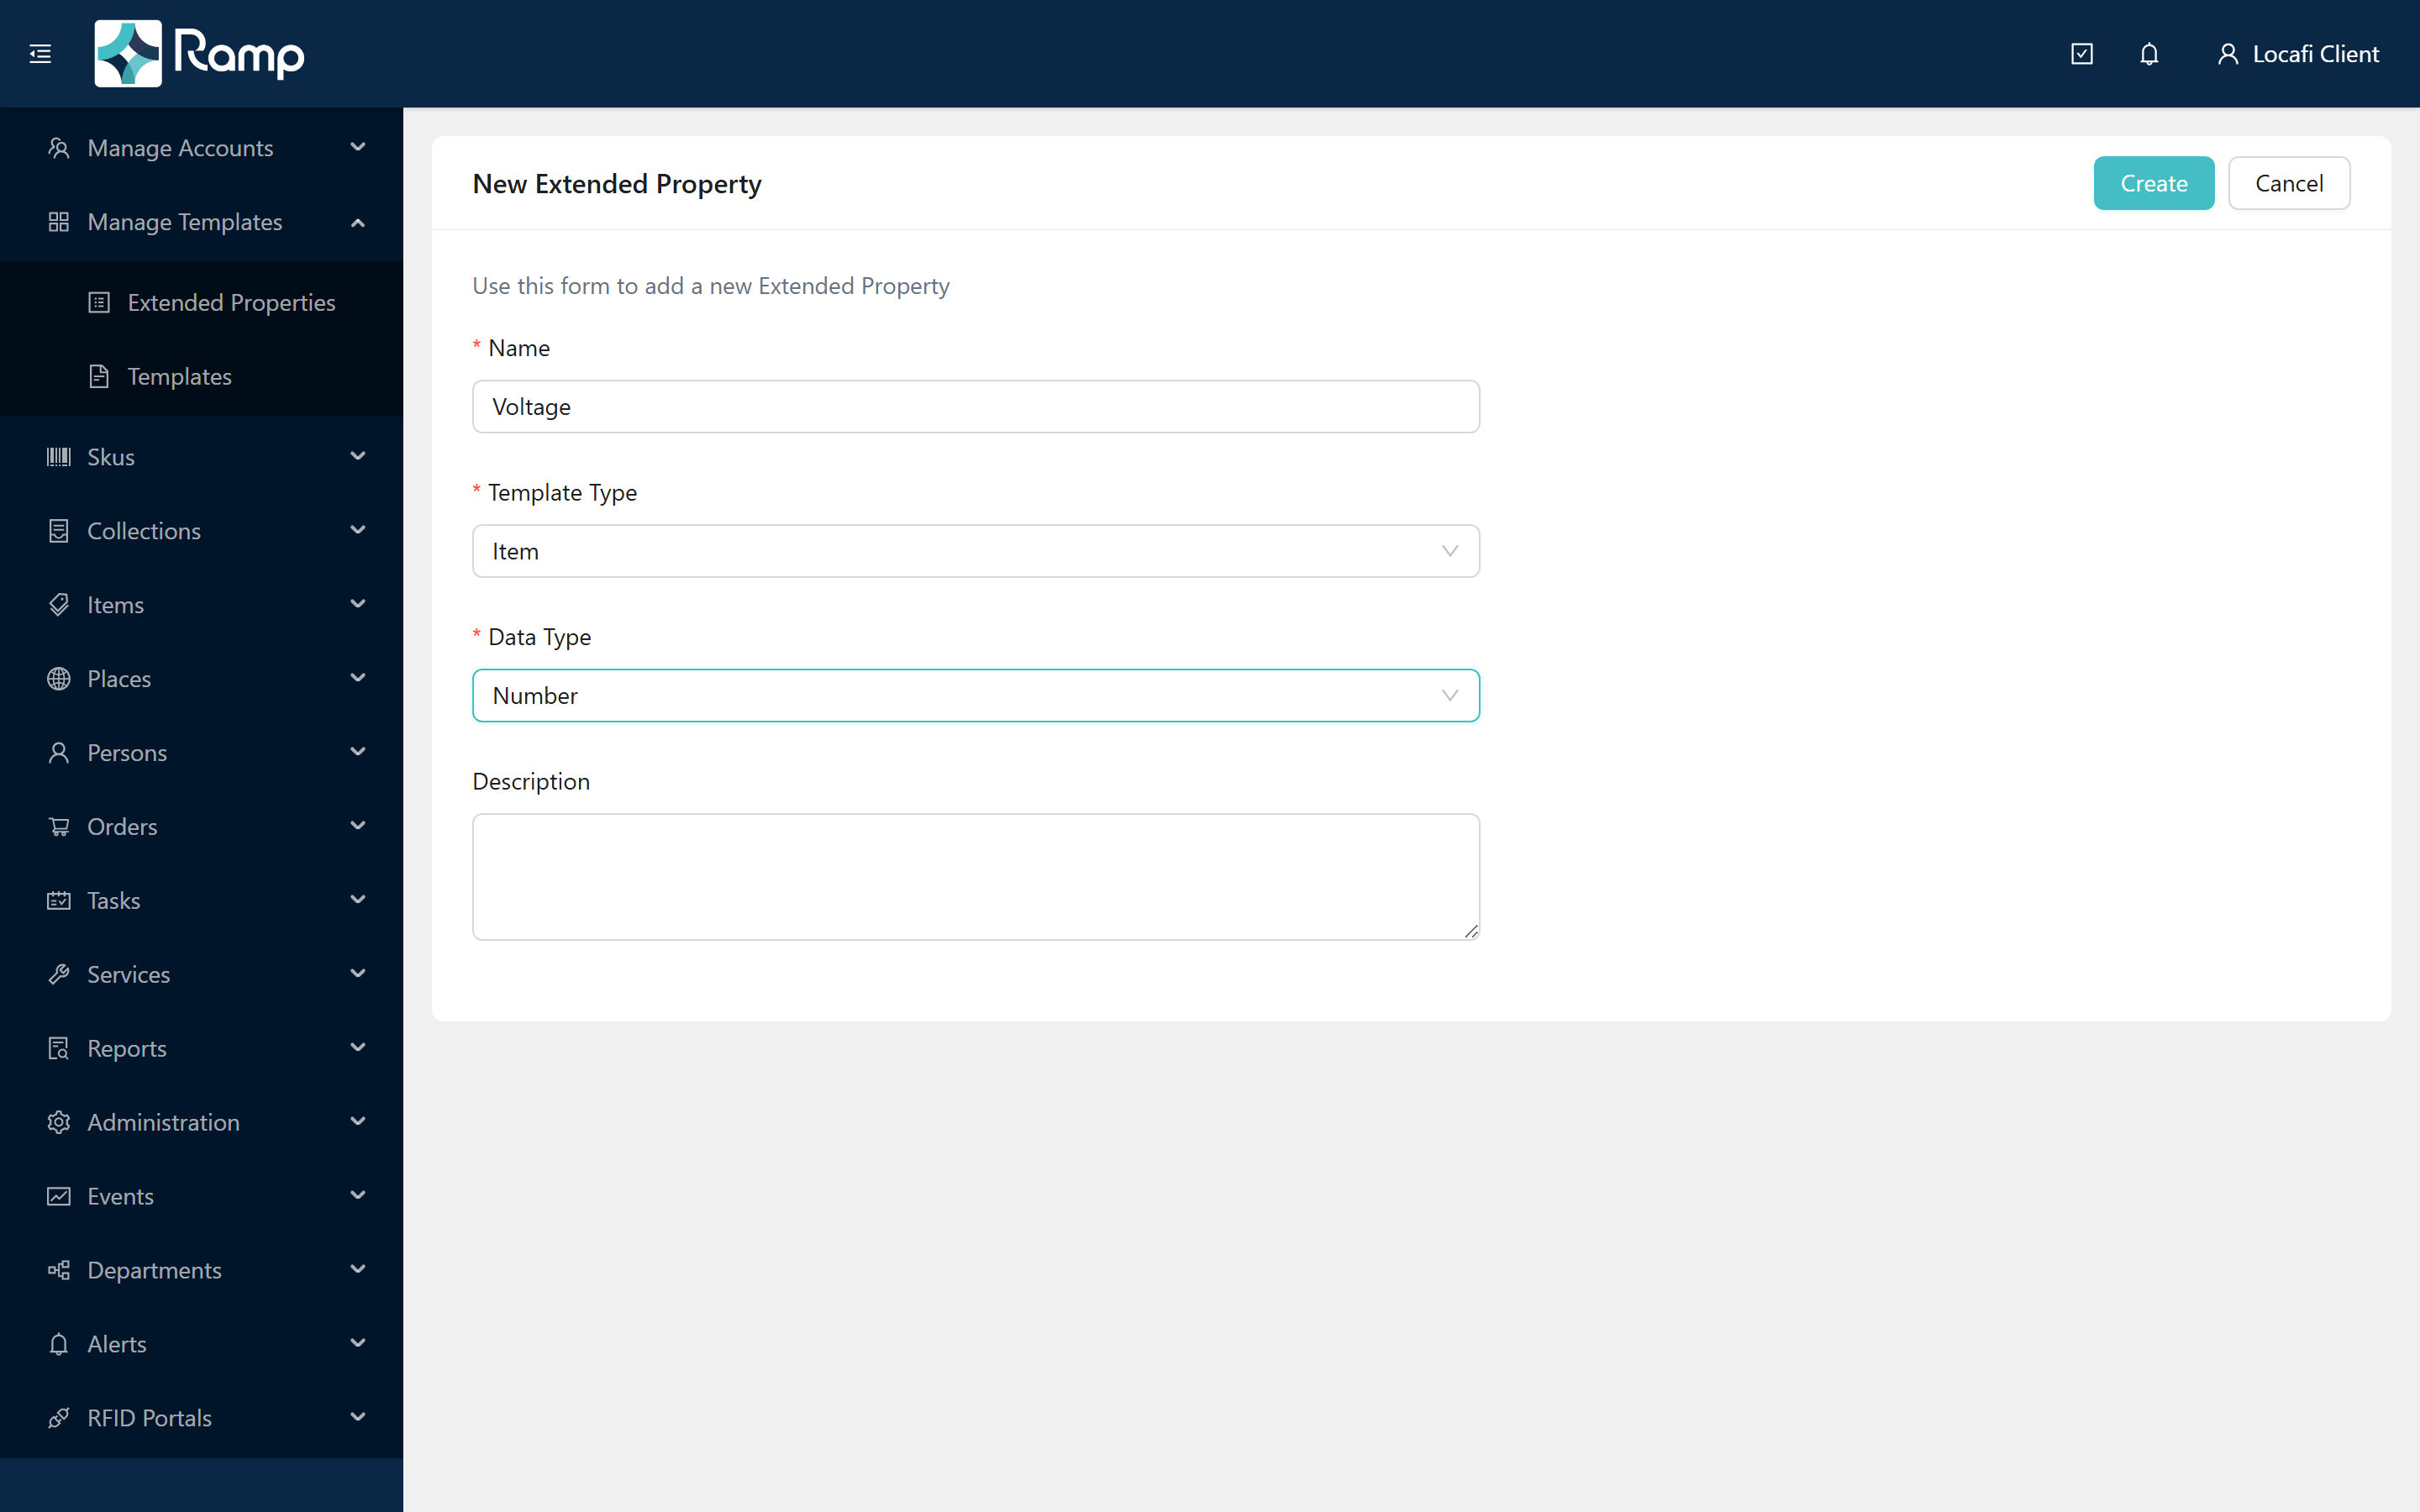
Click Create. The "Extended Property Created!" confirmation appears and the portal returns you to the list.
If you choose Select List as the data type, an Options table appears below the main fields. Use Add Option to define each value before saving.
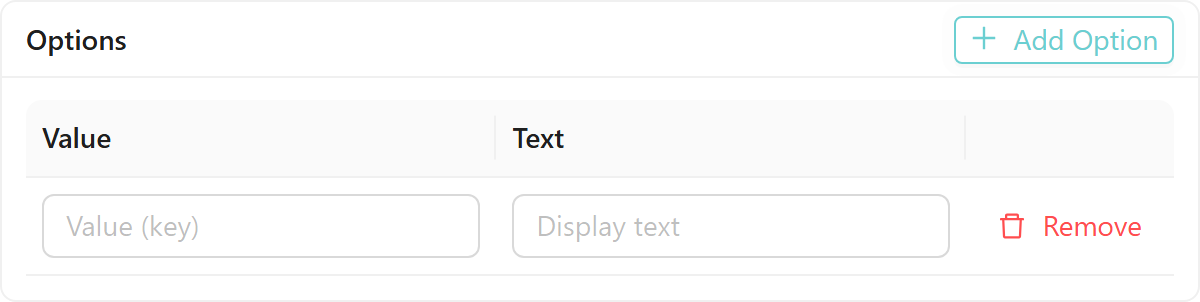
You cannot change a property's data type after creation — plan SelectList values before clicking Create.
Step 3 — Create the Serial Required property
Click Add again. Repeat Step 2 with these values:
| Field | Value |
|---|---|
| Name | Serial Required |
| Template Type | Item |
| Data Type | Bool |
Click Create. Both properties now appear in the list.
Part 2 — Create the template
Step 4 — Open the Templates list and start a new template
In the sidebar, expand Manage Templates and select Templates. Click Add to open the New Template form.
Fill in these fields:
| Field | Value |
|---|---|
| Name | Power Tool |
| Template Type | Item |
If you change the Template Type after selecting it, all assigned property rows are removed. Set it correctly before adding extended properties.
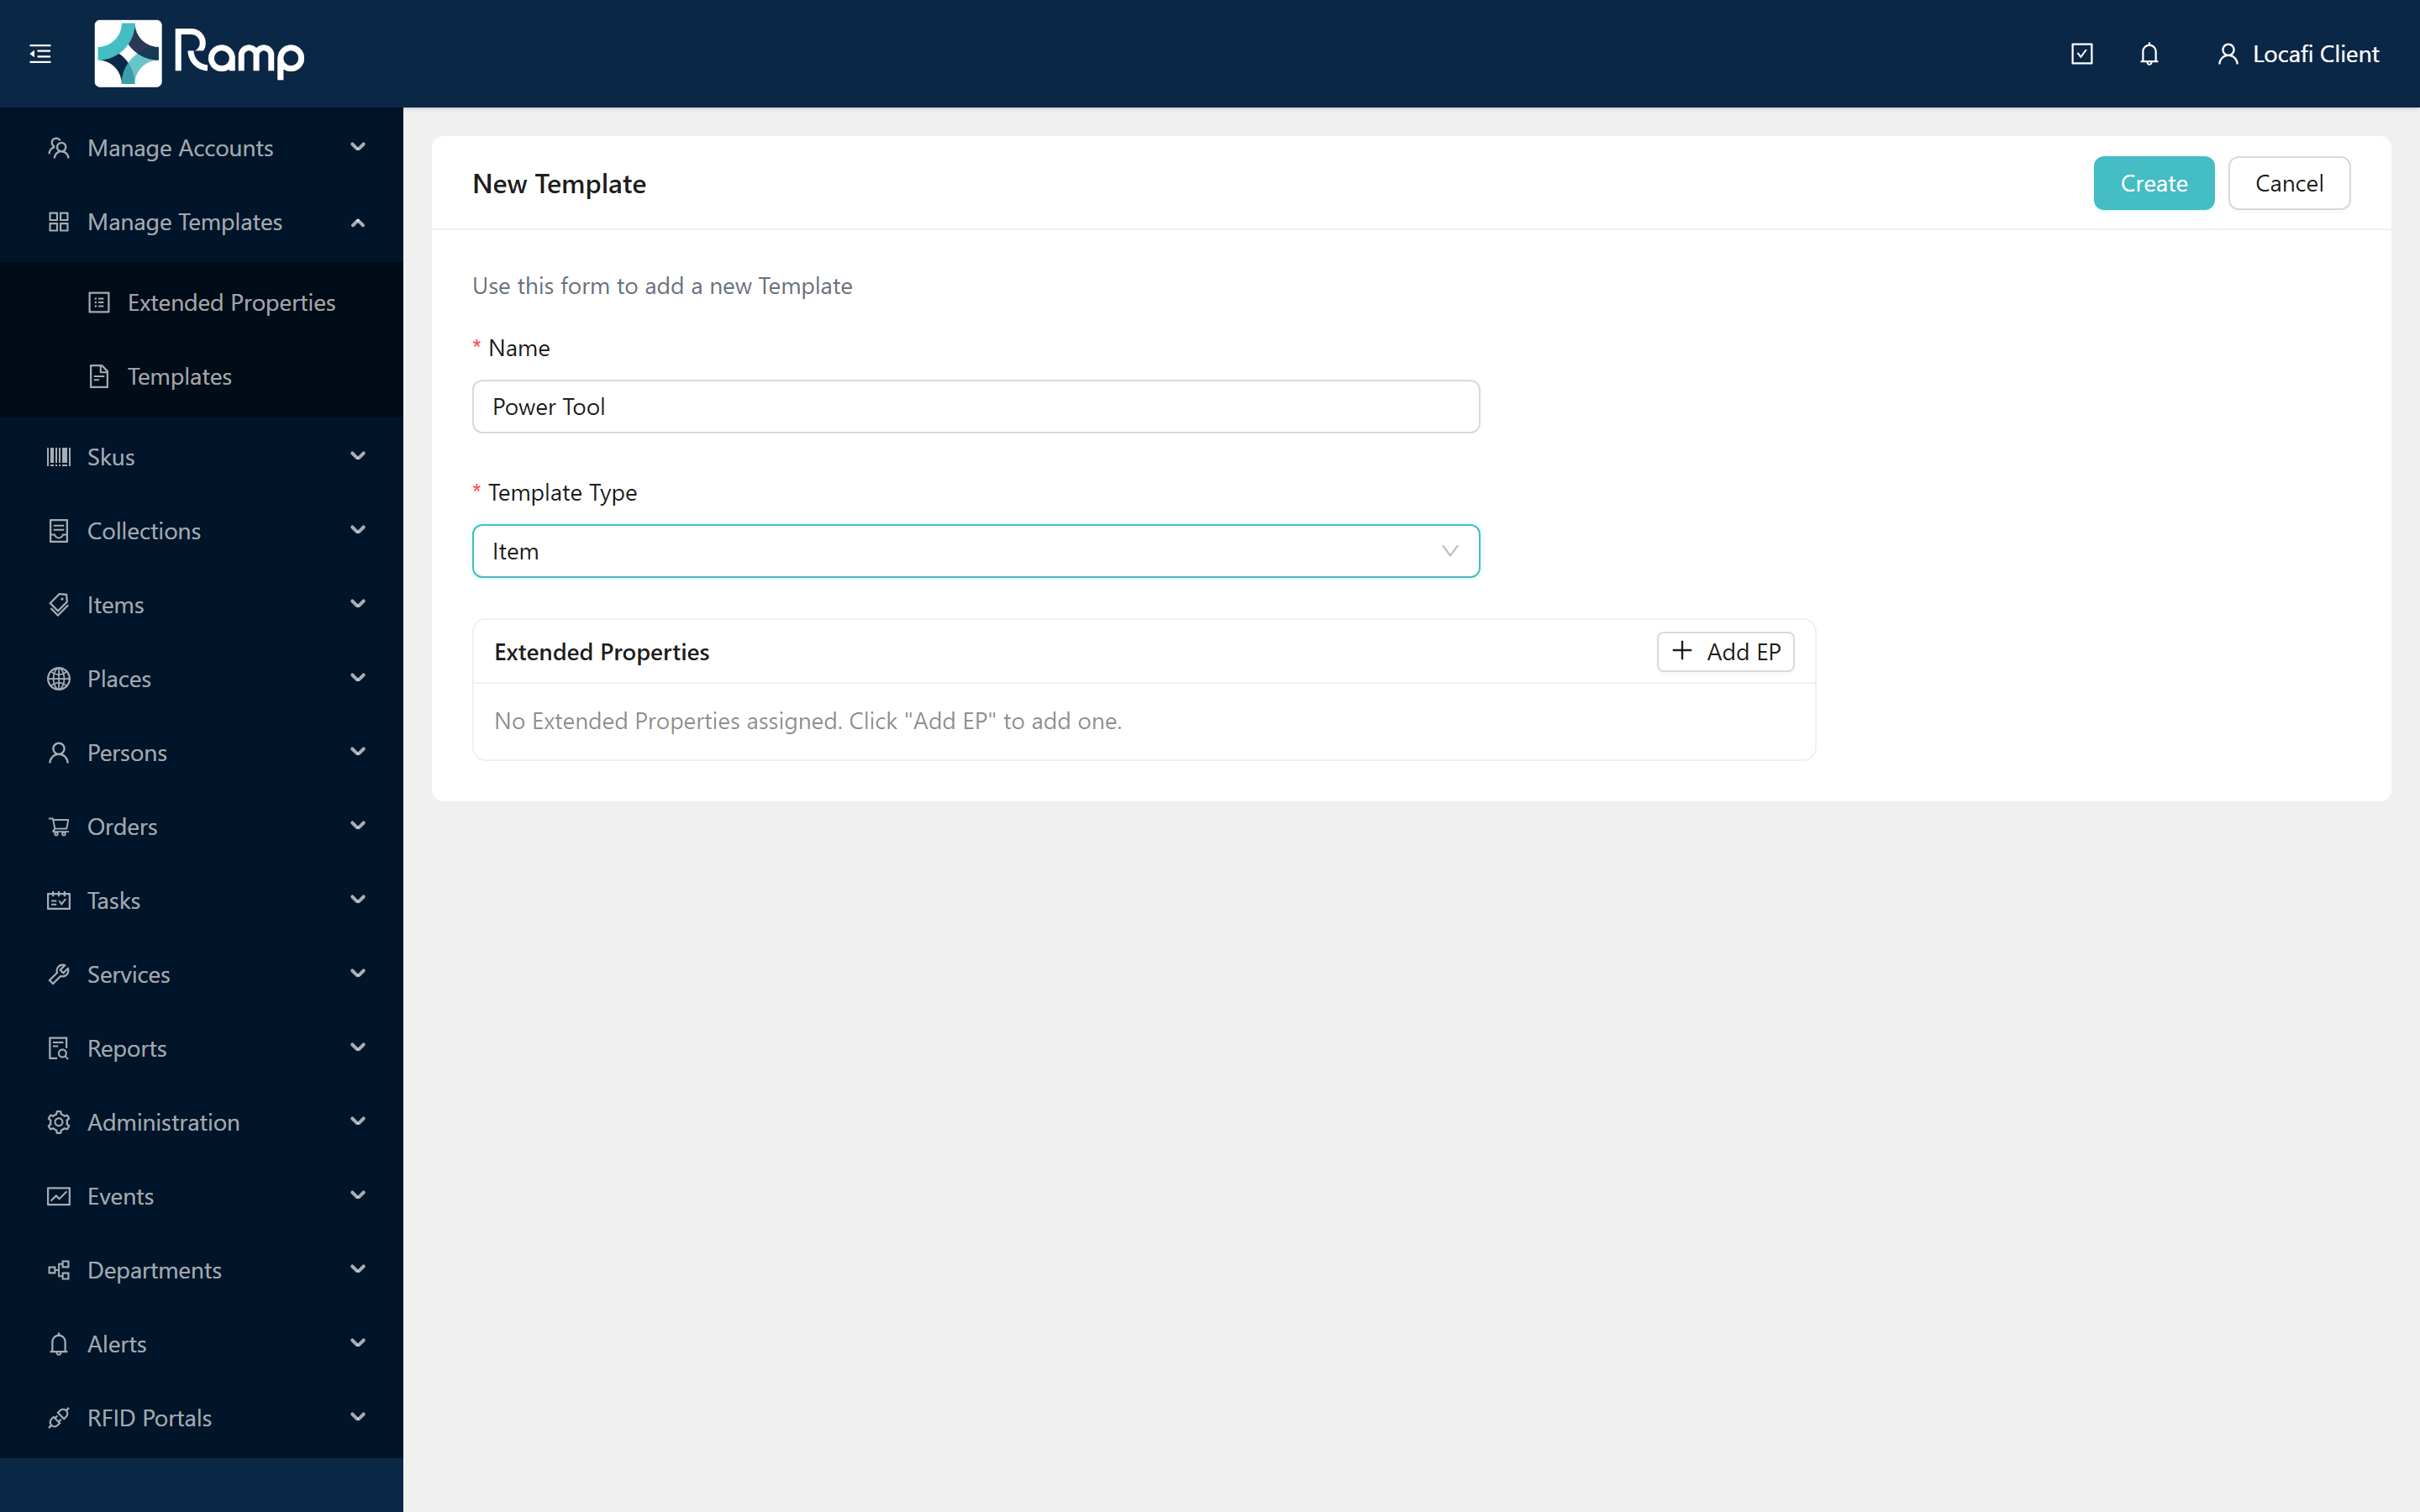
Step 5 — Assign the extended properties
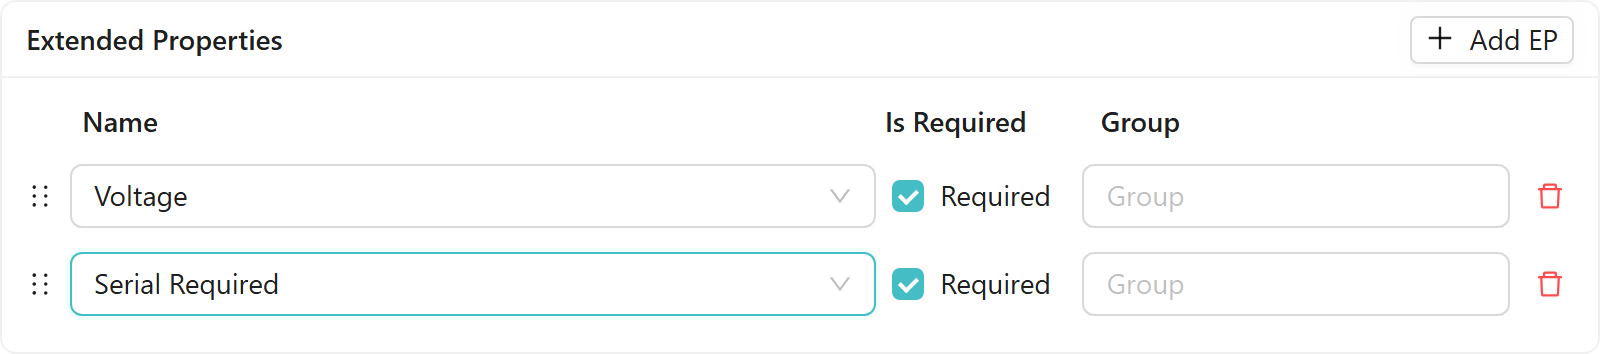
In the Extended Properties panel, click Add EP. The button is enabled once a Template Type is selected. For each property:
- Click Add EP. A new row appears with a property selector.
- Select Voltage from the dropdown. The Required checkbox is ticked by default — leave it on.
- Click Add EP again and select Serial Required. Leave Required ticked.
You can drag the row handles to reorder properties. Add a Group label to cluster related fields together on entity forms.
Step 6 — Save the template
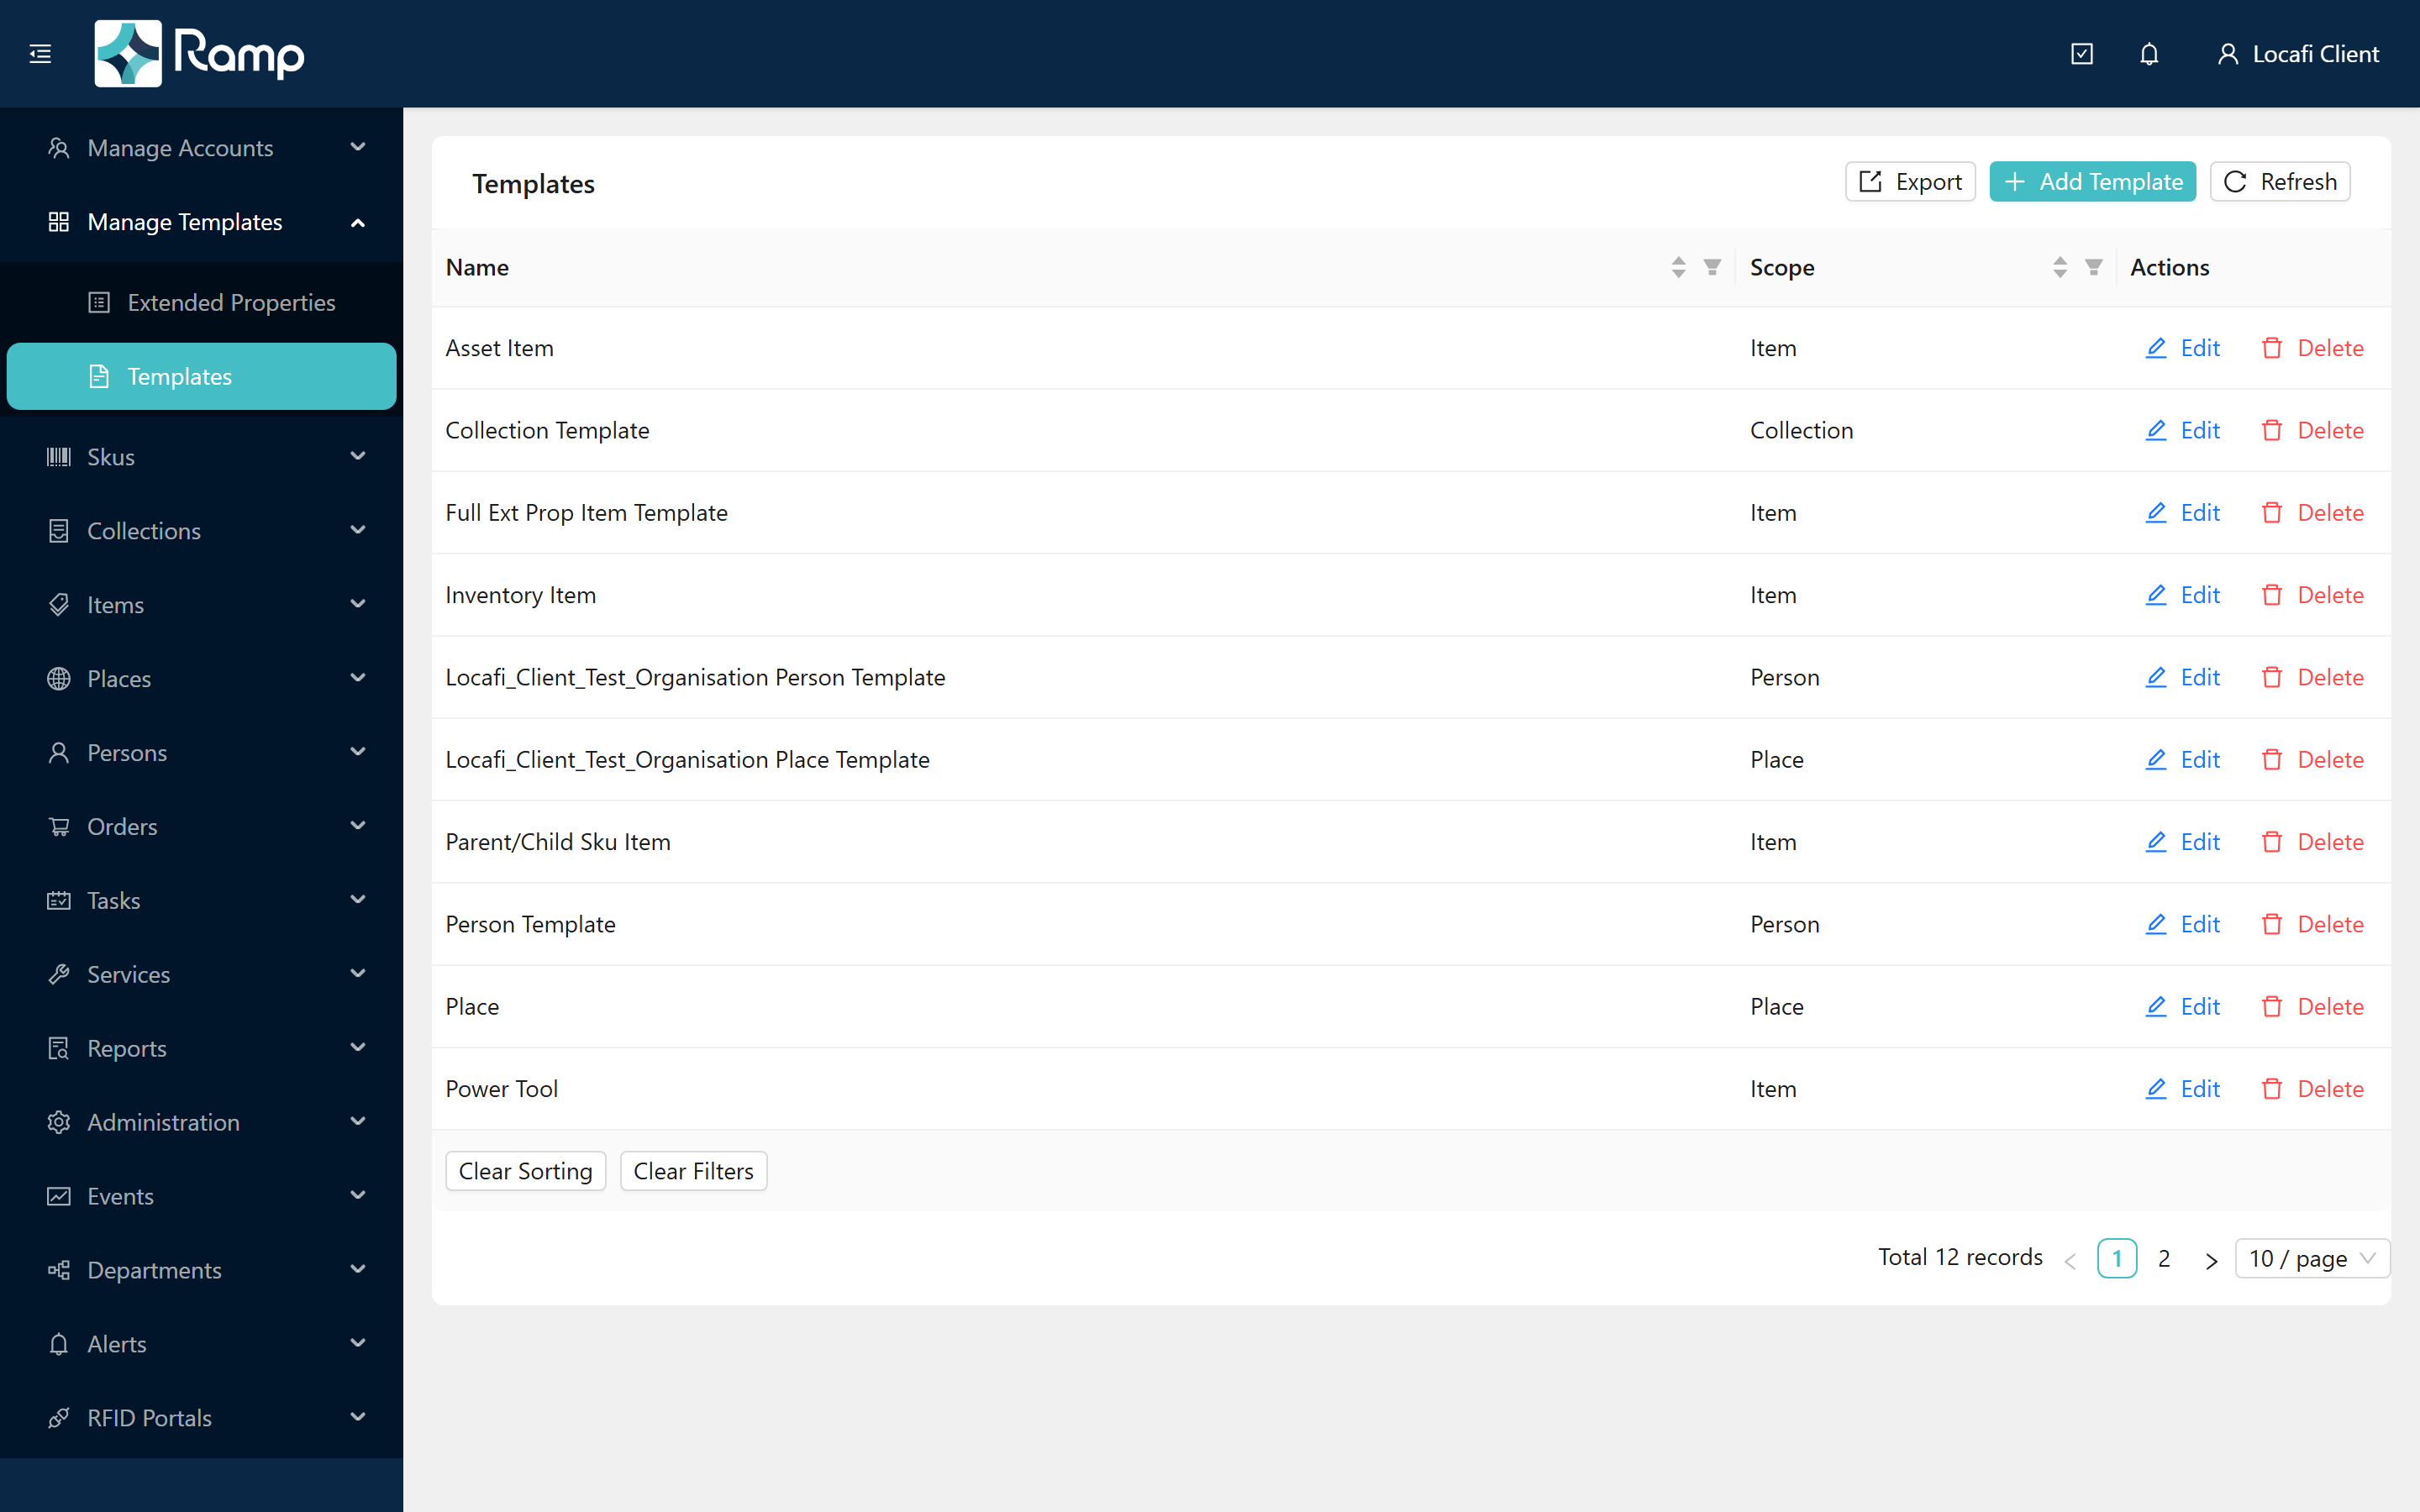
Click Create. The "Template Created!" confirmation appears and the portal opens the Templates list.
When you add, remove, or reorder properties on a template, the change propagates immediately to every SKU and item already using that template. On a large catalogue this can take a while.
See Live migration for details before making changes to templates in production.
Next step: Build your SKU catalogue — use the Power Tool template to build your first SKUs.
Related: Templates & extended properties · Working with lists