Scheduled reports
A scheduled report runs one or more saved report templates on a recurring schedule and emails the output file to a notification group. Once configured, the report delivers itself automatically — there is nothing more to do until you need to change the schedule, the reports it includes, or its recipients.
Before creating a scheduled report, confirm the following are in place:
- A saved report template. See Report templates to build and save one.
- A notification group configured with the intended recipients. Notification groups are managed by an administrator.
- A print template — required only if you choose PDF output.
The Scheduled Reports list
In the sidebar, open the Reports group and select Report Scheduler. The Scheduled Reports page lists all existing schedules in a table with five columns:
| Column | Content |
|---|---|
| Name | The schedule name |
| Description | Optional description |
| Notification Group | The group whose members receive the emailed file |
| Enabled | Ticked when the schedule is active |
| Actions | View and Delete |
Click View on any row to open and review that schedule.
To delete a schedule, click Delete on its row. A confirmation popover appears:
Are you sure? You will not be able to recover this record!
Click Yes, delete it! to confirm, or Cancel to go back. A toast reads Record Deleted.

Creating a schedule
Click Add Schedule in the top-right of the list page. The New Scheduled Report page opens with three cards: the main details card, a Reports card, and a Schedule card.
Main details
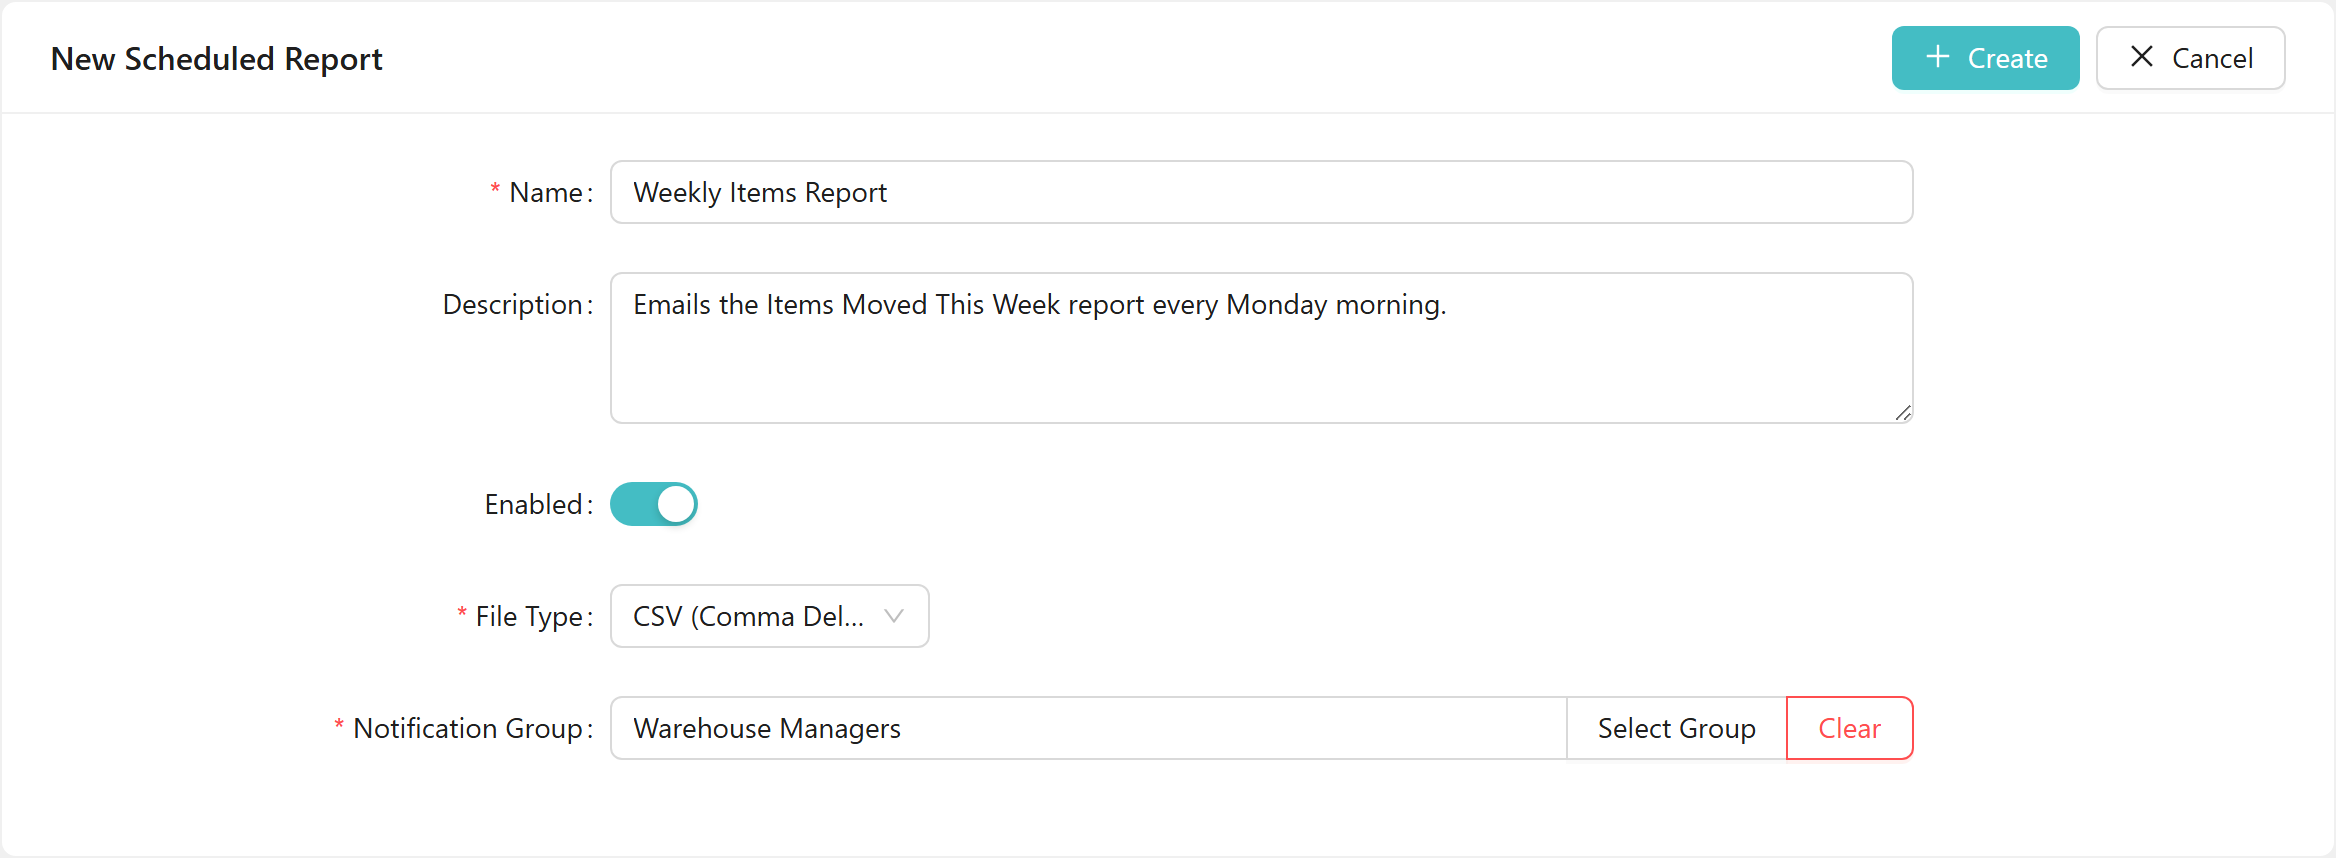
Fill in the following fields:
- Name (required) — a name for the schedule. Leaving this blank and submitting shows the inline message Report Name is required!
- Description — optional free-text description.
- Enabled — the switch starts off. Turn it on when the schedule is ready to run — a schedule left off is saved but never sends anything.
- File Type — the format of the delivered file:
- CSV (Comma Delimited File) — the default. Report data is emailed as a spreadsheet-compatible CSV file.
- PDF (Template based) — the report is rendered using a print template and delivered as a PDF.
- Notification Group (placeholder: No notification group selected) — the group whose members receive the file. Click Select Group to open the Select Notification Group dialog and choose a group. Once a group is selected, a Clear button appears next to the field to remove the selection.
PDF output
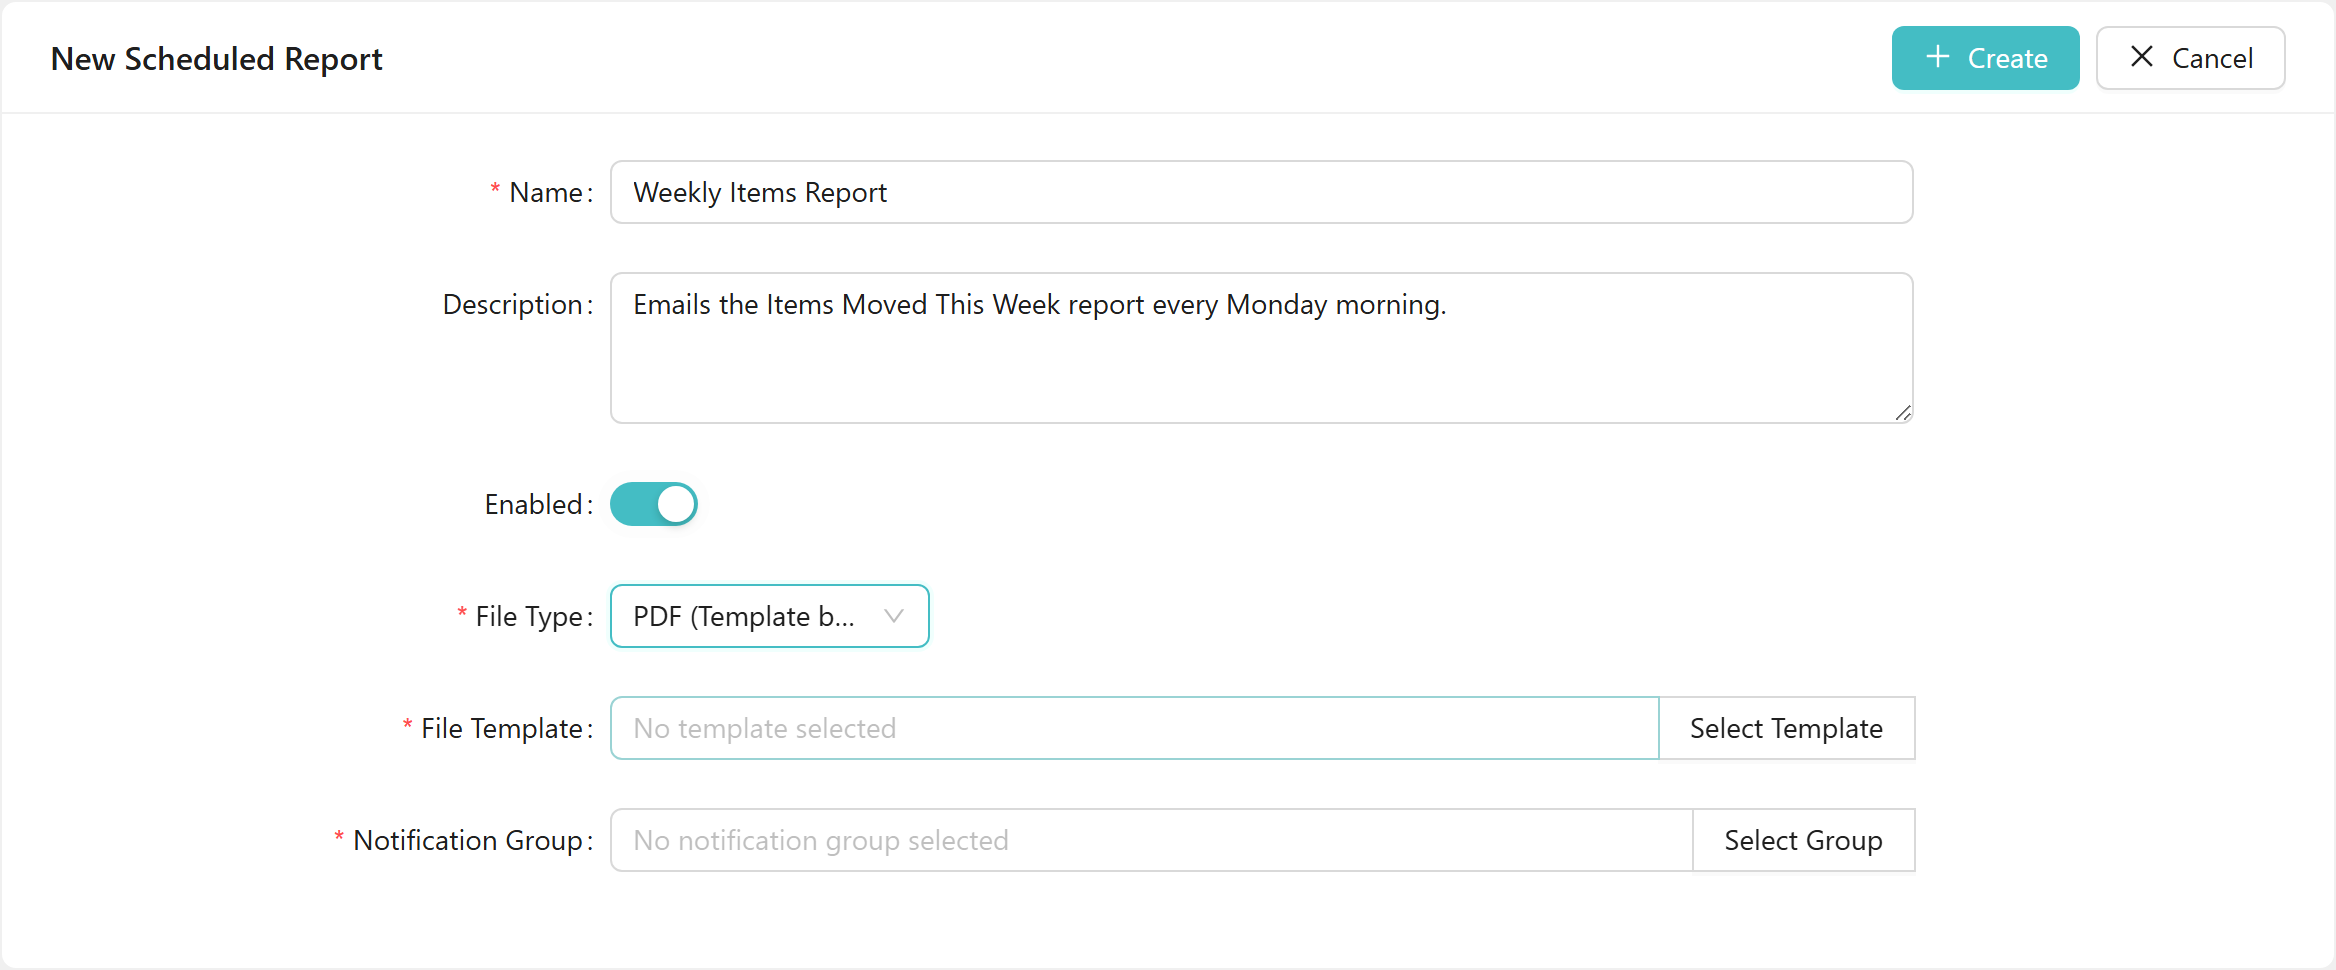
When PDF (Template based) is selected, a File Template field appears between File Type and Notification Group:
- File Template (placeholder: No template selected) — shows the selected print template name once chosen.
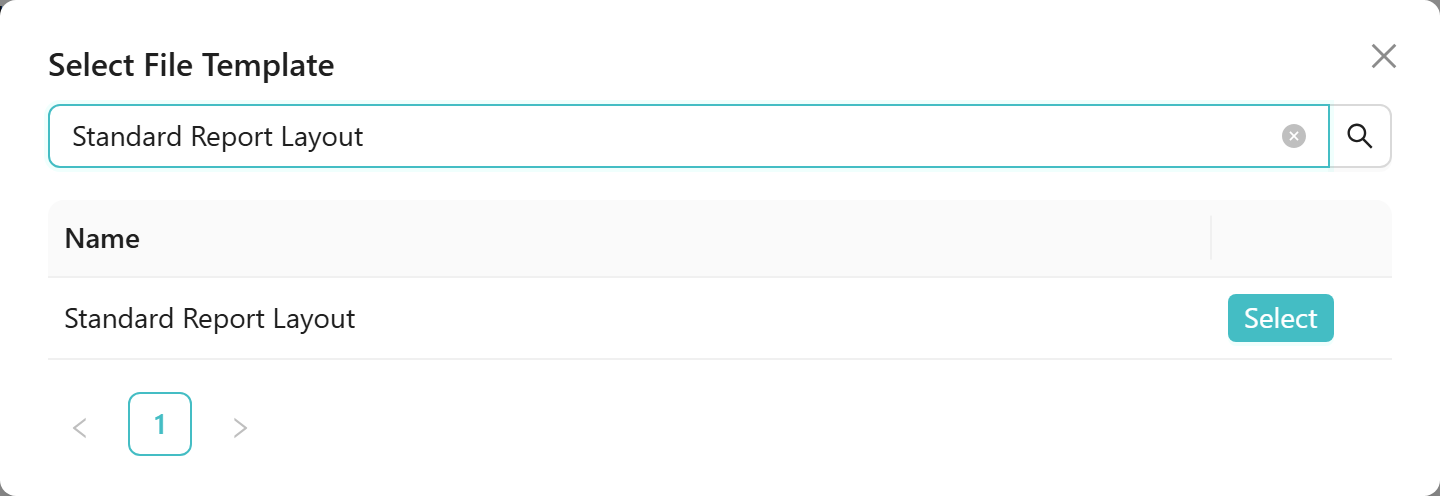
- Click Select Template to open the Select File Template dialog. Search for a template by name and click Select on the matching row. To clear a chosen template, click Clear.
Reports
The Reports card is where you attach the report templates to run on this schedule.
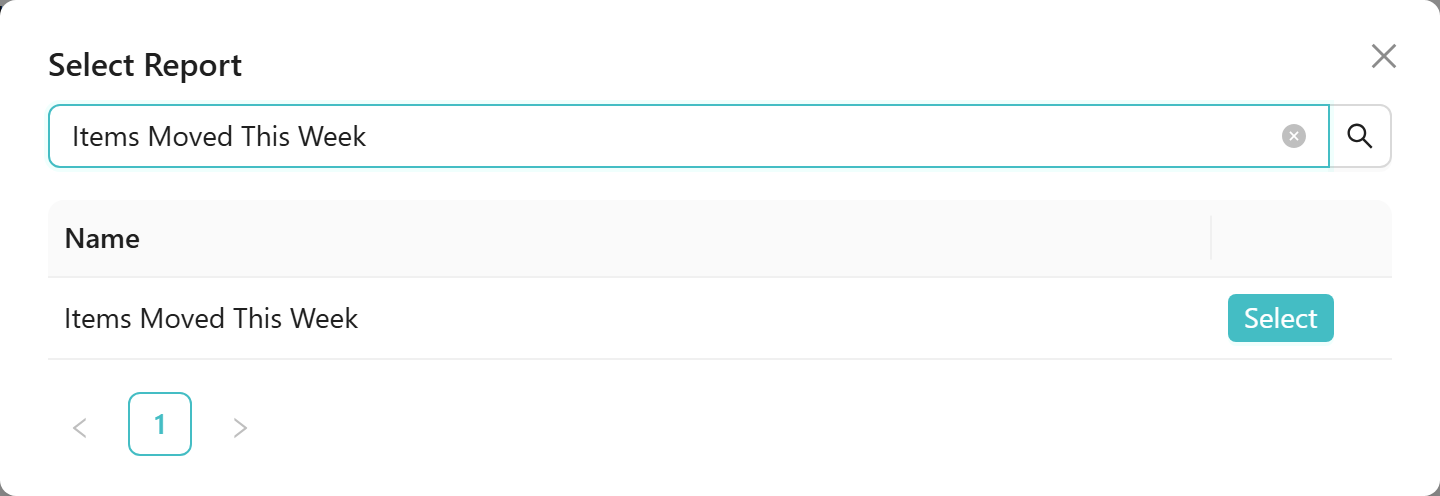
Click Add Report to open the Select Report dialog. The dialog lists your saved report templates by name. Search for a template and click Select on the matching row.
Added reports appear in the Reports table with three columns: Report Name, Type, and Remove. Click Remove on any row to detach that report from the schedule.
When no reports have been added yet, the table shows the empty-state message: No reports added. At least one report is required.
You can attach more than one report template — each is run in turn and included in the delivery.
Schedule
The Schedule card controls when the schedule runs. Click Daily, Weekly, or Monthly to choose a recurrence pattern.
| Pattern | Configuration |
|---|---|
| Daily | Choose At midnight to run at 00:00, or Custom time to set a Time. |
| Weekly | Set a Time and pick a Day (Monday through Sunday). |
| Monthly | Choose First day of every month to run on the 1st, or pick any day from 1 to 28 in the day of month selector. |
All times are your local time.

Worked example: Select Weekly, set Time to 08:00, and set Day to Monday. With the rest of the form filled in as above, this delivers the Items Moved This Week report to the Warehouse Managers group every Monday morning at 08:00.
Saving
Click Create in the top-right of the page. You are returned to the Scheduled Reports list and the new row appears. There is no confirmation message after a successful save.
Editing a schedule
On the Scheduled Reports list, click View on any row. The page opens directly as the Edit Scheduled Report form, ready to edit. Adjust the details, reports, or schedule as needed, then click Save to apply your changes.
Validation
If the form is incomplete when you click Create or Save, messages highlight the missing fields:
- Report Name is required! — the Name field is empty.
- At least one report must be added — the Reports card contains no report templates.
- Notification group is required! — no notification group has been selected.
- Template is required! — PDF (Template based) is selected but no file template has been chosen.
Related guides:
- Report templates — build and save the report queries that scheduled reports run.
- Build a report — step-by-step walkthrough of the report builder, from choosing a report type through to running the search.